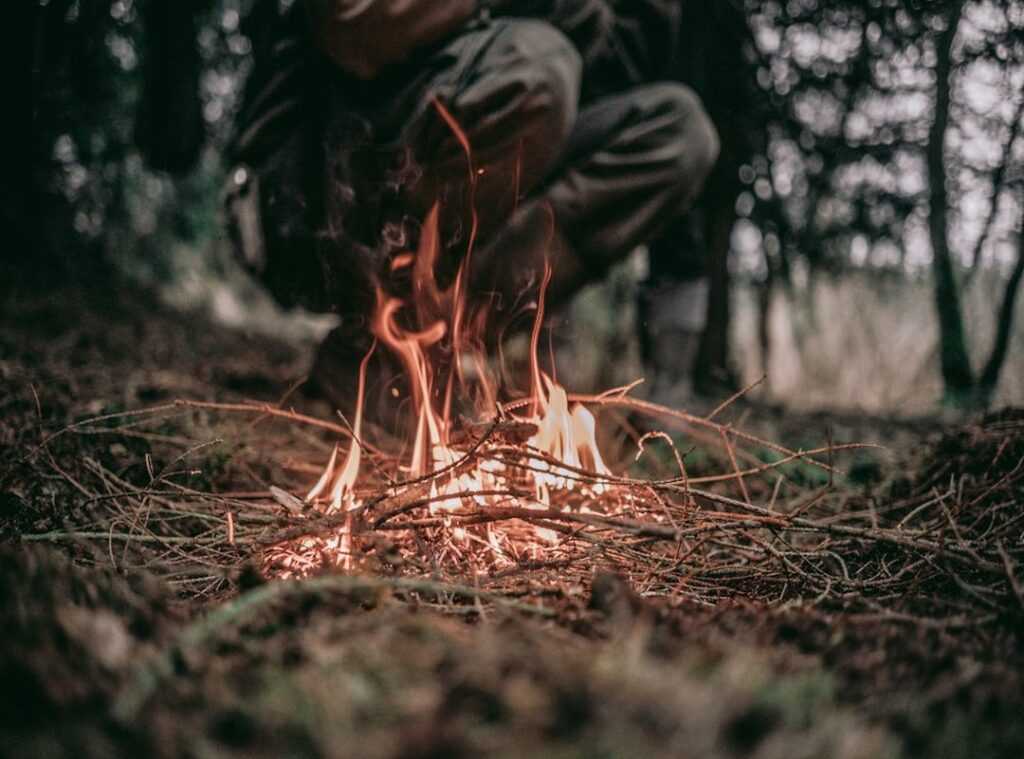
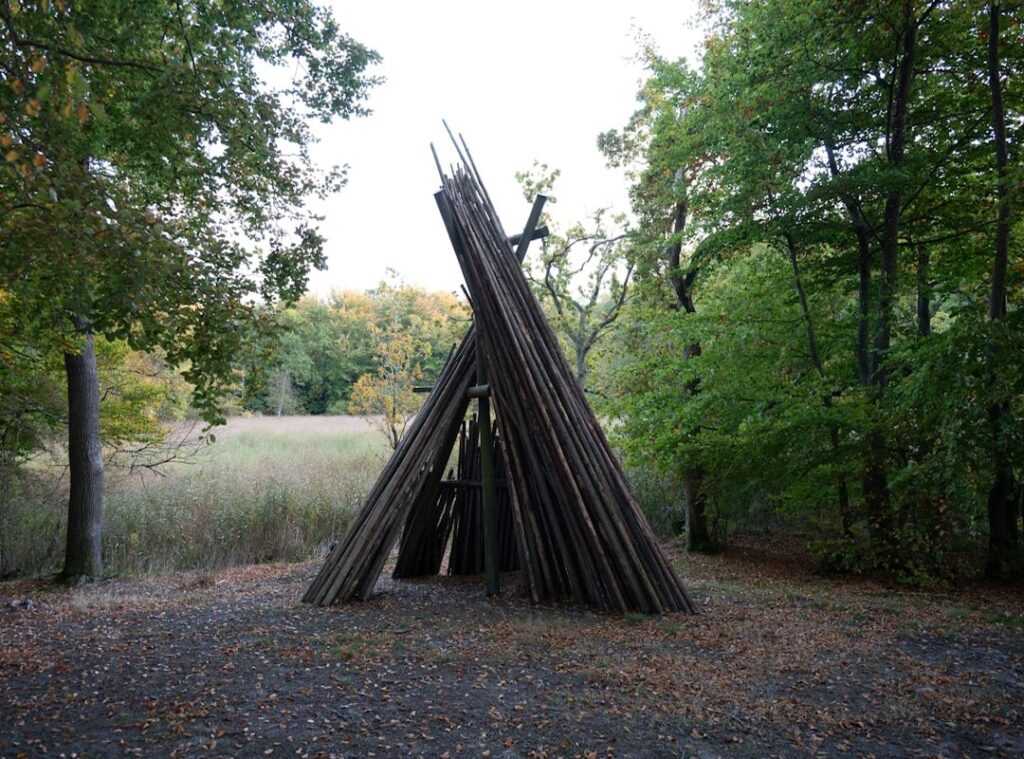
Ever felt that gut-wrenching panic when the sun dips below the ridge and you’re still fumbling on the trail? It’s the stuff of nightmares, right? Being caught without shelter turns the wilderness from a majestic escape into a dangerous trap.
But here’s the thing: that fear? It can be flipped. I’ve been there, deep in the wild, where every decision could mean the difference between a cozy night and a cold, hard lesson.
Years of navigating remote terrains taught me the art of wilderness shelter building. This isn’t just about survival; it’s about mastering your surroundings.
In this guide, I’ll share methods that work when it matters most. Trust me, this isn’t another boring chore. It’s the key to true wilderness freedom.
Ready to transform fear into empowerment?
Shelter Site Selection: The 5 Rules to Live By
When it comes to wilderness shelter building, choosing the right spot is key. You can’t just plop down anywhere and expect to survive. A great shelter in the wrong place?
That’s a recipe for disaster. So, let’s get into the ‘5 Ws’ of site selection.
Water is your first concern. You want to be near a water source, sure, but not so close that you risk flooding. A hundred yards or so usually works, but use your gut. Does the ground look soggy? Move uphill.
Next, wood. You need building materials, and lots of them. Look for deadfall and branches that aren’t rotting.
If they’re too wet, they won’t burn or hold up your shelter. You need them dry and sturdy.
Now, those widowmakers. Look up! Dead branches can kill you.
If a tree looks like it’s ready to drop its limbs, find another spot. Simple as that.
Wind protection is another must. Use natural barriers like rock outcroppings as windbreaks. They conserve energy and keep you warm.
Finally, watch for wildlife. You don’t want to camp on a game trail or near a bear den. Keep your eyes peeled for tracks or scat.
Want more on this? Check out important survival tactics extreme situations. It’s a game-changer.
The Rapid-Roll out Lean-To: Your 30-Minute Lifesaver
When you’re out in the wild, a lean-to is your best friend. It’s quick, versatile, and can be a lifesaver if things go south. I mean, who wants to spend hours building a mansion when you just need a roof over your head?
Let’s get into it.
Step 1: The Foundation. First, find your main ridgepole. This is the backbone of your lean-to. Look for a sturdy branch or fallen tree. Secure it between two trees or prop it on a rock. Make sure it’s stable. If it collapses, so does your shelter. You don’t want that.
Step 2: The Ribs. Now grab some sturdy branches. Lay them against the ridgepole at a 45-degree angle. This forms your main wall. Keep them close together. Gaps let in wind and rain. Trust me, you won’t like that at 3 a.m.
Step 3: The ‘Shingles’. Time to weave smaller branches through your ribs. This creates a lattice. It’s like making a giant basket (but not as fun). Smaller, leafy branches work best. They help keep things tight and cozy.
Step 4: The Insulation. Pile leaves, pine needles, or moss on top. Insulation is key. More is more here. A thick layer blocks wind and rain. Don’t skimp on this step. Your comfort depends on it.
For more on wilderness shelter building, check out this guide. It’s packed with tips. Pro tip: practice before you need it.
Build one in your backyard. You’ll thank me later. Remember, in the wild, you want something fast and effective.
The lean-to delivers.
The Debris Hut: Nature’s Ultimate Sleeping Bag
The debris hut is your best friend when it’s cold and you’re out in the wild. Why? It’s all about trapping your own body heat.
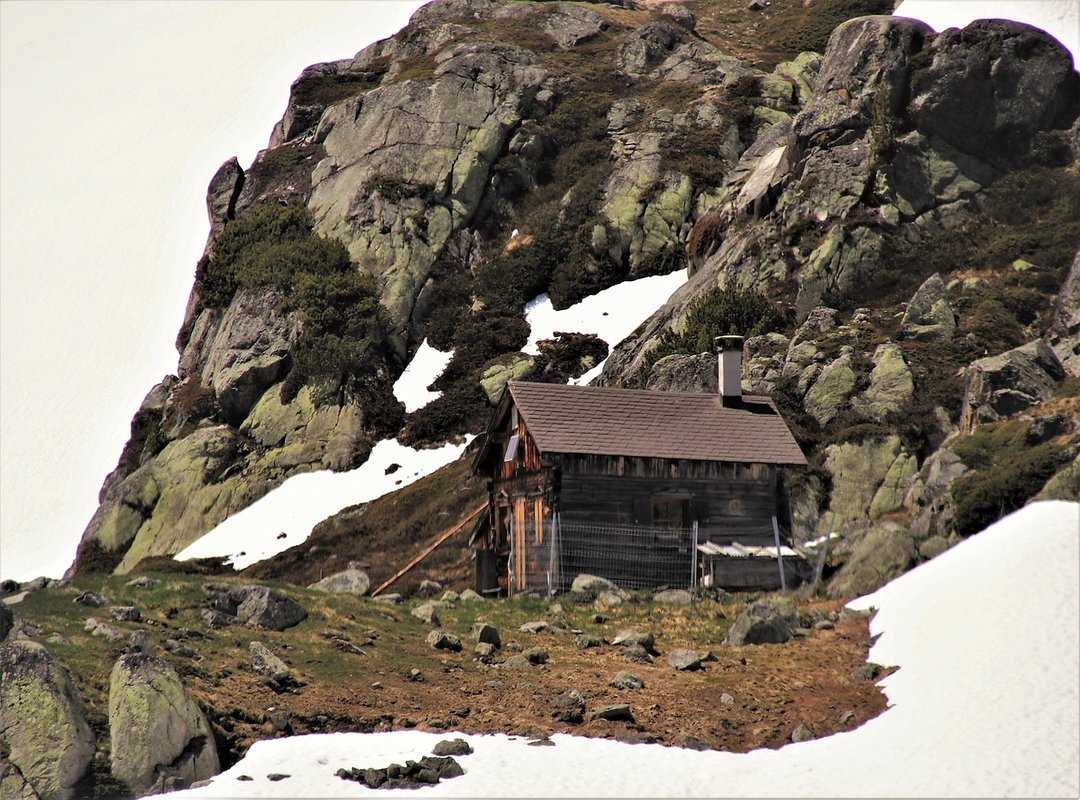
Think of it as nature’s version of a sleeping bag. During my last camping trip, I swear it saved me from freezing. So how do you build one?
Let’s break it down.
Step 1: The System. First, find a long, sturdy branch. This will be the spine. Prop it up on a stump or rock to form an A-frame entrance. It’s like building a cozy little tent but cooler (literally and figuratively).
Step 2: The Ribcage. Now, grab smaller sticks and line both sides of that spine. You’re creating a cocoon here. Aim for a human-sized space (unless you’re Shaquille O’Neal, then maybe a bit bigger).
Step 3: The Super-Insulation. Here’s where the magic happens. Pile on dry debris at least two to three feet thick. Leaves work best. Imagine you’re building a giant bird’s nest. This is what keeps you warm, so don’t skimp on this step.
Step 4: The ‘Mattress’. Inside, pile a thick layer of soft, dry debris. This insulates you from the cold ground. Without it, you’re just lying on nature’s icebox.
Need a door? Simple. Just pile loose debris to plug the entrance once you’re inside.
Pro tip: Always keep an eye out for more debris to add (better too much than too little).
And while you’re out there brushing up on your wilderness first aid techniques, mastering wilderness shelter building might just save your skin. It’s not just about comfort. It’s survival.
Now, go try it. Nature awaits!
From Surviving to Thriving: Shelter Wisdom for the Wild
Let’s get right to it: wilderness shelter building is more art than science, but some rookie mistakes can leave you freezing. The first blunder? Building too big.
I’ve seen this time and again. A sprawling shelter might seem cozy, but it’s a pain to heat. You need a shelter that hugs you like a bear (not literally, though).
A snug fit traps your body heat better. So, keep it compact.
Now, let’s talk about the ground. Ignoring ground insulation is a common rookie error. You lose more warmth to the cold earth than to the air.
That’s just how conduction works. A thick bed of debris is your best friend here. It’s non-negotiable if you want a good night’s sleep without turning into an ice block.
Looking to upgrade? I say go for the long fire with a heat reflector. It’s a game-changer.
Set up the fire parallel to your lean-to opening. Not too close, don’t want to toast yourself. Then build a rock or log wall behind.
This wall reflects heat into the shelter. You’ll thank me when it’s 20 degrees outside and you’re feeling toasty.
Worried about rain? Primitive waterproofing is your answer. Birch or pine bark slabs work wonders.
Lay them like shingles over your shelter’s system. Thick moss layers do the trick too. It’s like nature’s roofing.
Keeps you dry without all the fuss of modern materials.
For longer stays, you might want to raise your sleeping setup. A raised bed is the way forward. Construct a simple platform using logs and packed debris.
You stay warmer and drier this way. Sleeping on the cold, damp ground is for the unprepared. Not you.
Pro tip: Always check for widowmakers (those big, dead branches that can fall) before setting up. I learned that the hard way. Nature’s not forgiving, but with these tips, you can thrive instead of just surviving.
Master the Art of Wilderness Survival
You know that awful feeling (night) creeping in, and you’re nowhere near ready? We’ve all been there, but now we can leave it behind. With these skills, you’re armed.
You get it now: site selection matters more than size. A snug, simple shelter beats a big, drafty one every time.
So, here’s the deal. This isn’t just theory. It’s time to act.
Get out there! Build a mini shelter on your next hike. Feel those materials in your hands.
Turn knowledge into skill. This is how you conquer fear and embrace confidence.
Wilderness isn’t just a backdrop; it’s a teacher. And you’ve got the tools to learn. Wilderness shelter building isn’t just survival; it’s empowerment. Ready to prove it?
Grab your gear. The woods are waiting.
 Ask Joseph Jasperincons how they got into curious explorations and you'll probably get a longer answer than you expected. The short version: Joseph started doing it, got genuinely hooked, and at some point realized they had accumulated enough hard-won knowledge that it would be a waste not to share it. So they started writing.
What makes Joseph worth reading is that they skips the obvious stuff. Nobody needs another surface-level take on Curious Explorations, Frontier Findings, Hid Terrain Expedition Techniques. What readers actually want is the nuance — the part that only becomes clear after you've made a few mistakes and figured out why. That's the territory Joseph operates in. The writing is direct, occasionally blunt, and always built around what's actually true rather than what sounds good in an article. They has little patience for filler, which means they's pieces tend to be denser with real information than the average post on the same subject.
Joseph doesn't write to impress anyone. They writes because they has things to say that they genuinely thinks people should hear. That motivation — basic as it sounds — produces something noticeably different from content written for clicks or word count. Readers pick up on it. The comments on Joseph's work tend to reflect that.
Ask Joseph Jasperincons how they got into curious explorations and you'll probably get a longer answer than you expected. The short version: Joseph started doing it, got genuinely hooked, and at some point realized they had accumulated enough hard-won knowledge that it would be a waste not to share it. So they started writing.
What makes Joseph worth reading is that they skips the obvious stuff. Nobody needs another surface-level take on Curious Explorations, Frontier Findings, Hid Terrain Expedition Techniques. What readers actually want is the nuance — the part that only becomes clear after you've made a few mistakes and figured out why. That's the territory Joseph operates in. The writing is direct, occasionally blunt, and always built around what's actually true rather than what sounds good in an article. They has little patience for filler, which means they's pieces tend to be denser with real information than the average post on the same subject.
Joseph doesn't write to impress anyone. They writes because they has things to say that they genuinely thinks people should hear. That motivation — basic as it sounds — produces something noticeably different from content written for clicks or word count. Readers pick up on it. The comments on Joseph's work tend to reflect that.