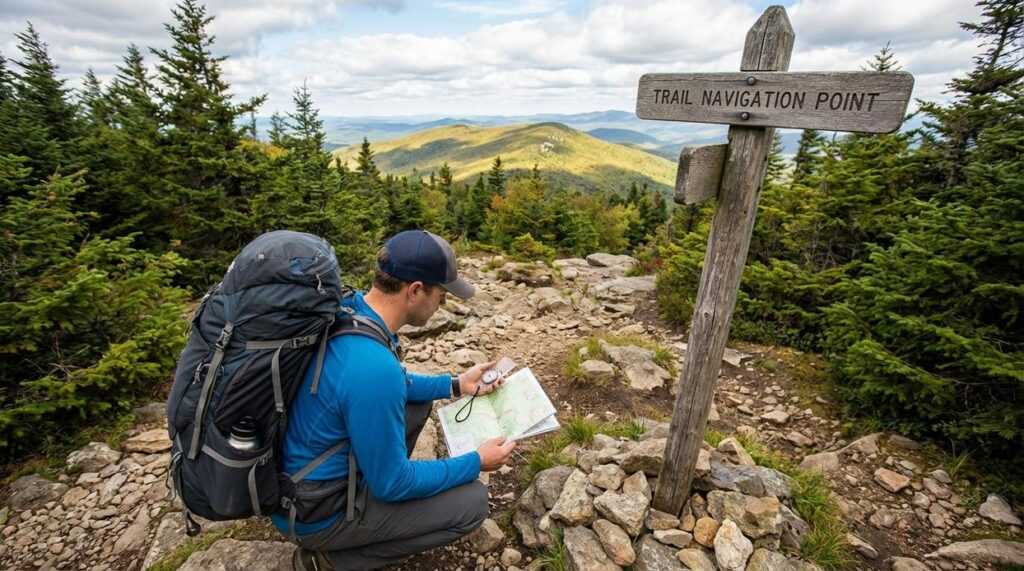
A topographic map can look overwhelming at first glance—dense contour lines, unfamiliar symbols, and a maze of markings that seem impossible to decode. This guide transforms that confusion into clarity, turning paper into a powerful navigation tool for any outdoor adventure. If you’ve ever felt intimidated by elevation lines or unsure how to translate symbols into real-world terrain, you’re in the right place. We break down the essentials of reading topographic maps into simple, practical steps grounded in real-world navigation experience. By the end, you’ll confidently interpret terrain, plan routes, and move through any landscape with greater safety and precision.
Decoding the Language of the Land: Your First Look at a Topo Map
First things first, start with the foundation: scale and legend. The scale tells you how distance on paper translates to distance on the ground—for example, one inch might equal one mile. Ignore it, and that “short hike” can turn into an accidental marathon (ask anyone who’s learned the hard way). The legend is your symbol decoder ring, explaining icons for water sources, trails, roads, and structures. Before heading out, study it carefully; I recommend circling key symbols so they jump out at a glance.
Next, focus on the heart of the map: contour lines. These brown squiggles connect points of equal elevation. When they’re close together, the slope is steep; when spaced apart, the terrain is gentle. In other words, they let you see the land in 3D without ever leaving your kitchen table. Mastering this is essential for reading topographic maps confidently.
Equally important is the contour interval, printed in the margin. This number tells you the vertical distance between lines—say, 20 feet. Count the lines, multiply, and you know your climb.
Finally, account for magnetic declination—the difference between true north and magnetic north. Adjust your compass accordingly. Otherwise, you might miss your trail by hundreds of yards.
Visualizing the Terrain: How to Read What the Lines are Telling You
When reading topographic maps, the first rule is simple: the closer the contour lines, the steeper the slope. Think of contour lines as stacked slices of bread. If the slices are crammed together, you’re looking at a steep hill (prepare your calves). If they’re spaced wide apart, the terrain rises gently—ideal for conserving energy on long treks.
Practical tip: Before you hike, run your finger along your planned route. Tight clusters of lines? Expect slow progress and plan extra time.
Finding Hills and Peaks
Hills and peaks appear as concentric circles, or closed loops. Each inner loop represents higher elevation. The smallest, innermost circle marks the summit. If you see several rings packed tightly near the top, that final push will be steep—picture Frodo nearing Mount Doom.
Tracing Waterways and Valleys
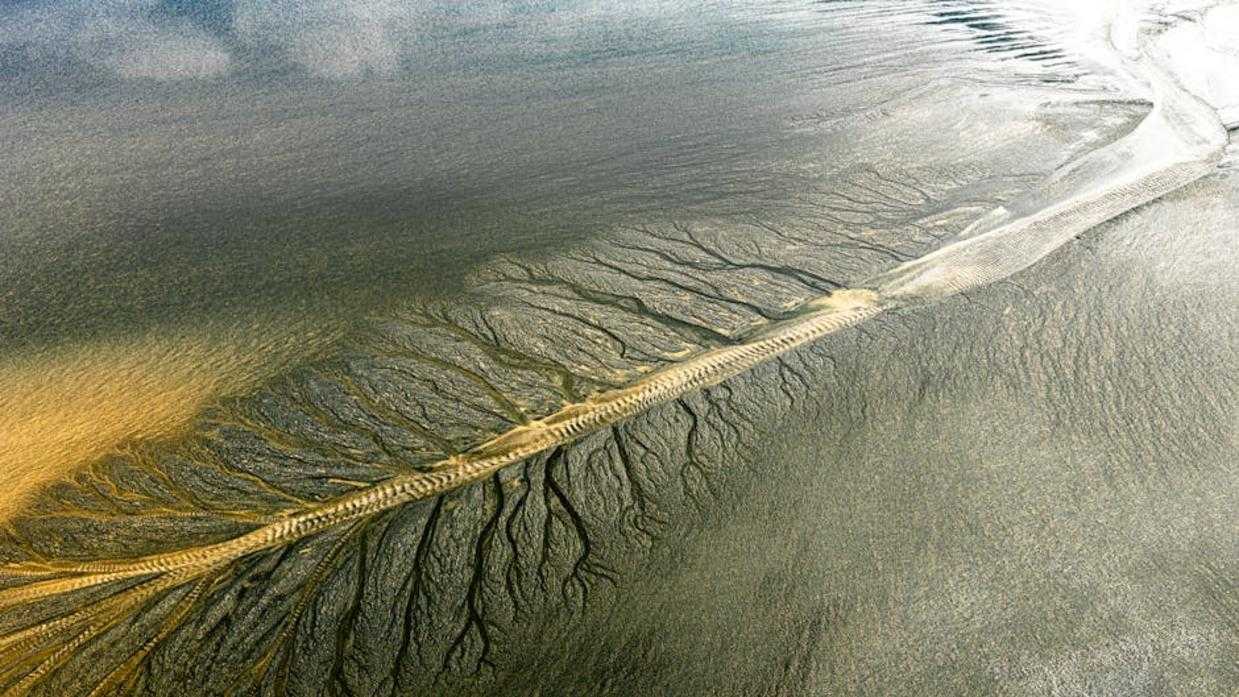
Look for the “Rule of Vs.” When contour lines cross a stream, they form a V shape that points uphill, toward the water’s source. The open end faces downstream. If you’re ever unsure which way water flows, this rule keeps you oriented.
Spotting Ridges and Saddles
Ridges create U- or V-shaped contours that point downhill. Saddles, meanwhile, look like an hourglass between two peaks. These low passes are prime route choices because they minimize elevation gain.
For foundational navigation skills, review using a compass step by step basics for beginners. Combine compass work with terrain reading, and you’ll navigate with confidence—not guesswork.
From Map to Trail: Essential Navigation Techniques
Most hikers treat navigation like a backup plan—something you fumble with after you’re already lost. That’s backwards. Navigation starts the moment your boots hit dirt.
Orienting Your Map
Orienting means aligning your map with the real world so north on paper matches north under the sky. Use a compass, or match visible landmarks—like a ridgeline or lake—to their map counterparts. Many insist a compass is mandatory. Not always. On clear days with obvious terrain, visual alignment is often faster and just as accurate (yes, really). The compass is a tool, not a crutch.
Finding Your Position (Triangulation)
Triangulation is pinpointing your location by taking bearings to two or three known landmarks. Identify a peak or tower, shoot a bearing, draw that line on your map. Repeat with another landmark. Where the lines intersect—that’s you. It’s geometry in the wild (and far more useful than high school made it seem).
Shooting a Bearing
To travel precisely, take a bearing from your map to your destination. Rotate the compass housing until it aligns with map north, set your direction of travel, then follow that bearing in the field. Contrary to popular belief, you shouldn’t stare at the needle nonstop. Pick a distant object on your line and walk to it.
- TRUST YOUR PROCESS
- Adjust for terrain, not ego.
Terrain Association
The real pros rely less on constant compass checks and more on terrain association—continually matching hills, streams, and saddles to what you see. Reading topographic maps becomes intuitive over time. Pro tip: if the land doesn’t match the paper, stop immediately. The wilderness doesn’t lie—you’re simply somewhere else.
Common Pitfalls and Pro Tips for Beginners
Mistake #1: Forgetting to Adjust for Declination.
Magnetic declination is the angle between magnetic north and true north, and even a few degrees off can compound into miles of error over distance. When reading topographic maps, always align your compass to the map’s datum and note the printed declination diagram.
Mistake #2: Relying on a Single Landmark.
That’s confirmation bias—the tendency to favor one clue and ignore conflicting data.
- Cross-check ridgelines, water features, and elevation contours.
- Verify bearings against at least two backstops.
Pro Tip: Always Fold Your Map.
Keeping only the active section visible sharpens focus, protects paper fibers, and speeds decision-making (less wrestling, more walking).
For example, understanding the contours on a topographic map can greatly enhance your experience when planning a visit to stunning locations like Lake Yiganlawi, where the landscape offers both challenges and breathtaking views.
Your Journey to Confident Navigation Starts Now
You set out to gain real confidence in the outdoors—and now you have a clear, repeatable system for reading topographic maps without second-guessing every contour line. What once felt confusing is now practical and actionable. Instead of relying on guesswork, you can interpret terrain, anticipate elevation changes, and move with purpose.
Don’t let uncertainty hold you back from deeper exploration. The difference between hesitation and confidence is practice.
Grab a local map today, head to a nearby park or overlook, and start identifying features in real time. Join thousands of outdoor enthusiasts who trust our proven navigation guides to sharpen their skills—get started now and turn every trail into familiar ground.