A great hike doesn’t start at the trailhead—it starts with a plan. The difference between a memorable summit and a miserable ordeal often comes down to preparation. Poor route choices can leave you racing daylight, battling unexpected terrain, or worse, completely off course. This hiking route planning guide gives you a clear, repeatable framework to map out any day hike with confidence. Drawing on proven wilderness navigation principles and field-tested trail strategies, we break the process into practical, actionable steps. By the end, you’ll have a reliable checklist and the skills to plan safer, smarter adventures from trailhead to summit.
Phase 1: Digital Reconnaissance and Trail Selection
Choosing Your Battlefield
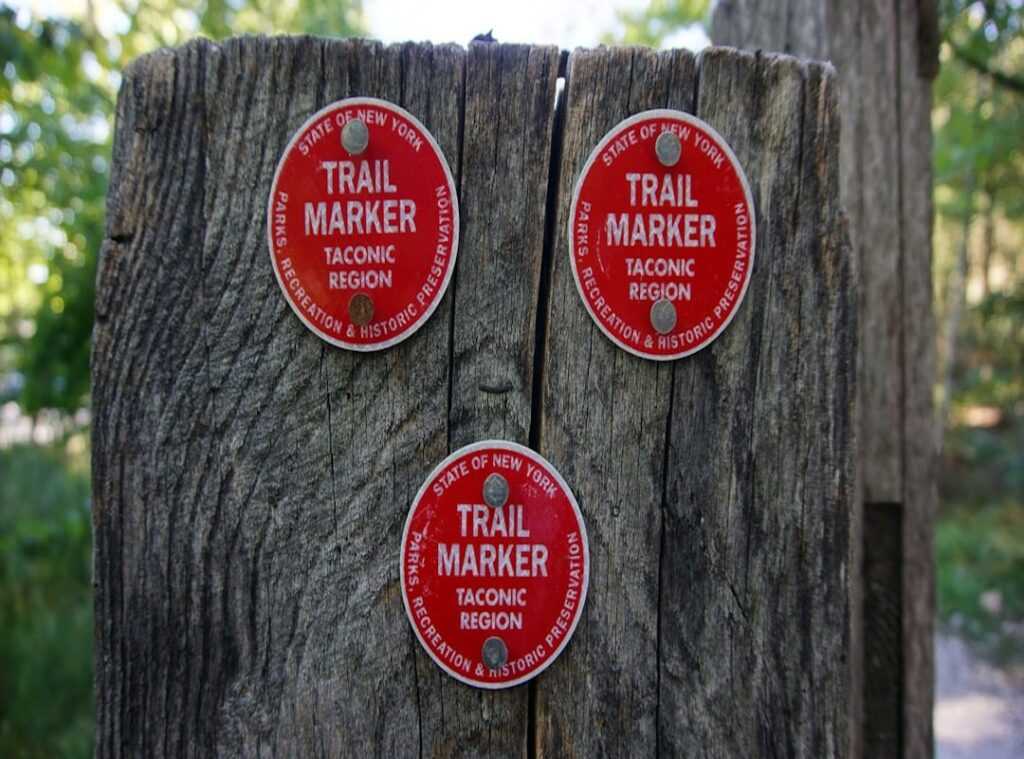
Before you lace up your hiking boots, it’s essential to plan your route carefully by considering key navigation checks, which can significantly enhance your adventure and is a perfect segue into our guide on Understanding Trail Markers and Blazes Across Regions.
Before you lace up your boots, open your laptop. Digital reconnaissance simply means researching a trail online before committing to it. Tools like AllTrails, Gaia GPS, and official park service websites act as your first map table. However, contrary to popular belief, the highest-rated trail isn’t automatically the best choice. Five stars often just mean “crowded and scenic.” If solitude or technical challenge is your goal, that rating can be misleading.
Instead, treat each listing like a case file in your hiking route planning guide. Compare user photos, scan topo maps (topographic maps that show elevation changes), and read between the lines of reviews. If three hikers casually mention “a spicy scramble,” expect hands-on rock climbing—not a gentle stroll.
Decoding the Data
Difficulty labels are blunt instruments. Focus on total distance, elevation gain (the total vertical climb), and terrain type. For example, 8 miles with 3,000 feet of gain on scree—loose rock fragments—feels very different than 8 forested miles on packed dirt.
Next, assess current conditions. Check mountain-specific forecasts, recent trail reports, and official alerts. Weather shifts fast, closures happen quietly, and wildlife activity changes seasonally. Optimism is not a strategy (ask anyone who’s post-holed through surprise spring snow). Cross-check everything.
Phase 2 is where confidence is built or broken. I firmly believe navigation skills separate casual hikers from true backcountry travelers.
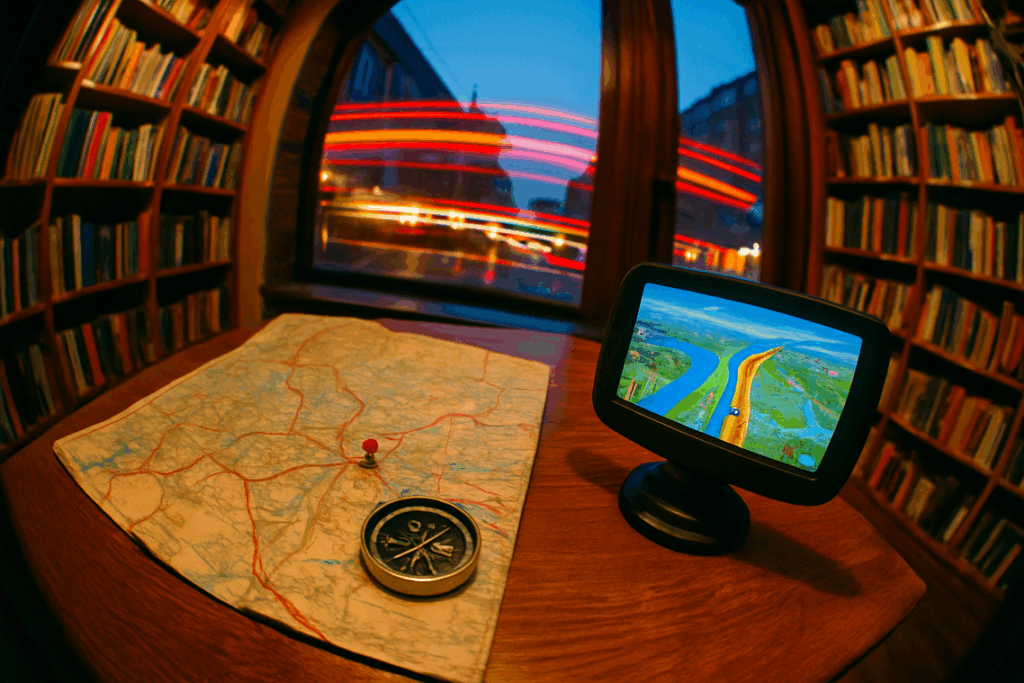
First, let’s talk about the modern compass: GPS apps. Used correctly, they provide real-time tracking, elevation data, and route overlays that would make old-school explorers jealous (Indiana Jones would have killed for this). However, always download offline maps before you leave; cell service disappears faster than snacks at camp.
Still, I never rely on batteries alone. A physical topographic map and compass are non-negotiable survival tools. Learning how to read contour lines lets you visualize steepness and terrain features before you feel them in your calves. If you need a deeper breakdown, study this guide on how to read topographic maps for backcountry hiking.
Next, break your route into manageable legs. In my experience, plotting clear waypoints prevents sloppy decision-making. Identify:
- Critical junctions
- Reliable water sources
- Practical bailout points
- The summit or final objective
Then, create a simple turn-by-turn itinerary with estimated distances between each point. This hiking route planning guide mindset reduces guesswork and fatigue.
Some argue detailed planning kills adventure. I disagree. Preparation doesn’t limit freedom; it expands it, because when conditions shift, you adapt instead of panic. And that’s the difference between wandering and navigating with purpose. Before stepping onto the trail, review your plan once more, note elevation gains, confirm bearings, and share your itinerary with someone you trust, because smart navigation is less about heroics and more about consistent, disciplined follow-through. Stay alert always.
Phase 3: Calculating Time, Pacing, and Logistics

Beating the Clock Without Guesswork
Estimating hiking time confuses many beginners because distance alone doesn’t tell the full story. A five-mile flat trail is very different from five miles climbing 2,000 feet. That’s where Naismith’s Rule comes in—a simple formula that estimates 1 hour for every 3 miles (5 km) of distance plus 1 additional hour for every 2,000 feet (600 m) of elevation gain. In plain terms: hills cost time.
Some hikers argue that formulas are too rigid. Fitness levels vary, terrain changes, and weather interferes. True. But a baseline estimate is better than optimism alone (hope is not a pacing strategy). Think of it as your starting framework in a hiking route planning guide.
Now, build in a buffer. Add time for water breaks, lunch, photos, route-finding errors, and the occasional “Are we even on the trail?” debate. Most importantly, set a turnaround time—the latest time you can continue forward and still finish before dark.
Finally, confirm trailhead logistics. Check parking rules, permits, shuttle plans for point-to-point hikes, and seasonal road closures. Small oversights can unravel big plans.
Phase 4: The Safety Plan and Gear Checklist
Route analysis isn’t theory—it’s logistics. If your map shows a 12-mile dry stretch, you carry the water. If there’s ridge exposure, you pack sun sleeves and glacier glasses. SIMPLE, BUT NON-NEGOTIABLE. Many guides mention “pack smart,” but few connect each terrain feature to a specific gear decision. That’s the difference between comfort and crisis.
The Ten Essentials—Field Applied
| Essential | Why It Matters on Real Routes |
|---|---|
| Navigation | GPS fails; paper doesn’t (until soaked). |
| Illumination | Delays happen. Darkness is undefeated. |
| Sun Protection | Exposure drains energy fast. |
| First Aid | Blisters become liabilities. |
| Knife/Tool | Gear breaks. Always. |
| Fire | Hypothermia prevention. |
| Shelter | Storms ignore forecasts. |
| Extra Food | Calories = decision clarity. |
| Extra Water | Sources dry up. |
| Extra Layers | Weather shifts hourly. |
Your Emergency Itinerary
Create and SHARE it. Exact trailhead, route line, bailout points, start/end times, and when to call SAR. Most hikers skip this step—until someone wishes they hadn’t. Use a hiking route planning guide to formalize it.
Your Plan Is Your Ultimate Piece of Gear
You came here looking for a clear system, and now you have it—a complete four-phase framework you can rely on every time you step onto the trail. This hiking route planning guide gives you more than directions; it gives you control, clarity, and confidence when uncertainty is the real risk.
Poor planning leads to wrong turns, wasted daylight, and unnecessary danger. Solid preparation creates freedom. When you know your route, terrain, and contingencies, you’re free to actually enjoy the wilderness.
Now put it into action. Plan a short, familiar trail today using this system. Refine your process, build your confidence, and make every future adventure safer, smoother, and far more rewarding.
 Theo Zavalayana is the kind of writer who genuinely cannot publish something without checking it twice. Maybe three times. They came to curious explorations through years of hands-on work rather than theory, which means the things they writes about — Curious Explorations, Frontier Findings, Hid Terrain Expedition Techniques, among other areas — are things they has actually tested, questioned, and revised opinions on more than once.
That shows in the work. Theo's pieces tend to go a level deeper than most. Not in a way that becomes unreadable, but in a way that makes you realize you'd been missing something important. They has a habit of finding the detail that everybody else glosses over and making it the center of the story — which sounds simple, but takes a rare combination of curiosity and patience to pull off consistently. The writing never feels rushed. It feels like someone who sat with the subject long enough to actually understand it.
Outside of specific topics, what Theo cares about most is whether the reader walks away with something useful. Not impressed. Not entertained. Useful. That's a harder bar to clear than it sounds, and they clears it more often than not — which is why readers tend to remember Theo's articles long after they've forgotten the headline.
Theo Zavalayana is the kind of writer who genuinely cannot publish something without checking it twice. Maybe three times. They came to curious explorations through years of hands-on work rather than theory, which means the things they writes about — Curious Explorations, Frontier Findings, Hid Terrain Expedition Techniques, among other areas — are things they has actually tested, questioned, and revised opinions on more than once.
That shows in the work. Theo's pieces tend to go a level deeper than most. Not in a way that becomes unreadable, but in a way that makes you realize you'd been missing something important. They has a habit of finding the detail that everybody else glosses over and making it the center of the story — which sounds simple, but takes a rare combination of curiosity and patience to pull off consistently. The writing never feels rushed. It feels like someone who sat with the subject long enough to actually understand it.
Outside of specific topics, what Theo cares about most is whether the reader walks away with something useful. Not impressed. Not entertained. Useful. That's a harder bar to clear than it sounds, and they clears it more often than not — which is why readers tend to remember Theo's articles long after they've forgotten the headline.