When you head into the backcountry, preparation isn’t optional—it’s survival. If you’re searching for clear, reliable guidance on wilderness rescue signaling, essential survival tactics, and practical navigation skills, this article is built for you. Getting lost or stranded outdoors can escalate quickly, and knowing how to signal effectively, use your gear wisely, and apply proven wilderness techniques can make the difference between a close call and a crisis.
Here, you’ll find field-tested strategies drawn from real-world outdoor experience, in-depth gear evaluations, and established backcountry best practices. We break down what works, what doesn’t, and what you should prioritize before and during any remote adventure.
Whether you’re a weekend hiker, seasoned trekker, or backcountry explorer, this guide will help you strengthen your preparedness, sharpen your navigation skills, and respond confidently if the unexpected happens.
When you’re lost, panic is natural—but pause. Have you ever wondered how rescuers actually spot someone in miles of forest? Your job is simple: be found.
Start with the universal distress signal: three of anything—three whistle blasts, three fires, three flashes. It’s the SOS of the wild (yes, even more reliable than yelling into the void).
Build layers:
- Visual: bright clothing, signal mirrors, large ground-to-air symbols.
- Audible: whistles carry farther than voices.
- Electronic: personal locator beacons and phones.
This is wilderness rescue signaling in action. Ready before you need it?
Preparation turns fear into focused action fast.
The Core Principles of Effective Rescue Signals
When it comes to wilderness rescue signaling, simplicity saves lives. First and foremost, remember the Universal Rule of Threes. International distress standards recognize three of anything in a sequence—three whistle blasts, three fires, three flashes—as a call for help. Search and rescue teams are trained to notice that pattern because nature rarely repeats itself so neatly (woodpeckers don’t count).
Next, maximize contrast and visibility. A signal must interrupt the landscape. Bright orange fabric against green timber. A large, deliberate “X” stamped into snow or sand. Even rhythmic movement—like a mirror flash—catches the human eye faster than static shapes. In other words, neat beats natural.
Finally, choose your location strategically:
- Gain elevation whenever possible.
- Prioritize open clearings or ridge lines.
- Avoid ravines or dense canopy cover.
So what’s next? Once positioned, think redundancy—combine sound, sight, and motion to multiply your chances of being found.
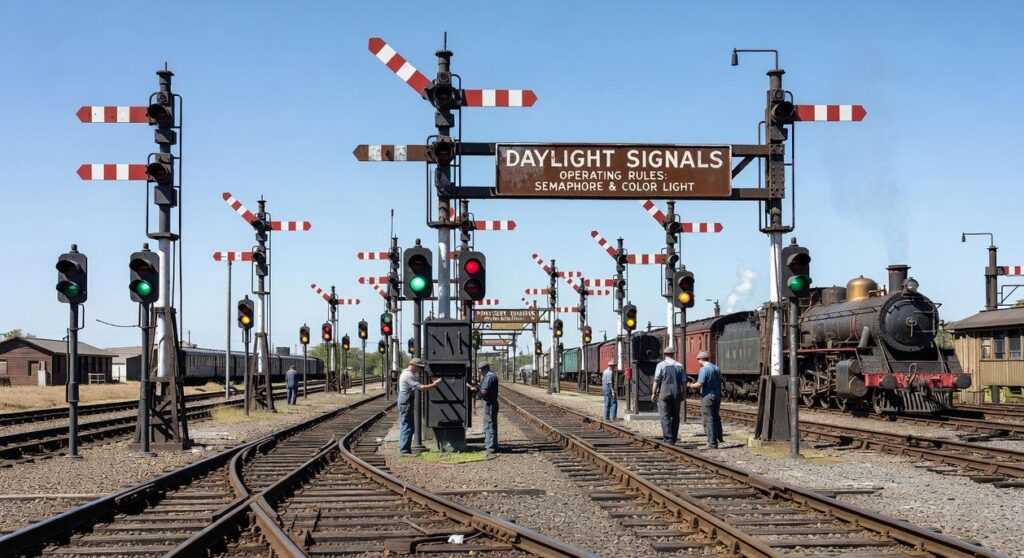
Visual Signals: Your Daylight Lifeline
When you’re stranded, visibility equals survivability. If rescuers can’t see you, they can’t save you. That’s the core principle behind effective wilderness rescue signaling.
Signal Mirrors
A signal mirror is one of the most powerful long-range tools you have. On a clear day, a flash can be seen for miles—sometimes over 10 miles depending on conditions (U.S. Air Force Survival Handbook). To aim it, hold the mirror near your eye and form a “V” with two fingers on your other hand. Place your target—plane, helicopter, distant search party—inside that V. Tilt the mirror until the reflected light shines through the V onto the target. No mirror? A phone screen, polished knife, or even a watch face works (yes, MacGyver would approve).
Some argue mirrors are overrated because they require sunlight. True—but when the sun’s out, nothing beats them for range.
Fire and Smoke
Fire serves two roles: warmth and location marking. By day, add green leaves, moss, or damp wood to produce thick white smoke. The contrast against trees or sky makes it highly visible. At night, build three fires in a triangle roughly 100 feet apart—an internationally recognized distress configuration.
Pro tip: Prepare extra fuel in advance so you can intensify flames the moment you hear aircraft.
Ground-to-Air Symbols
Create large symbols in open terrain. Use rocks, logs, bright clothing, or trampled snow. Make letters at least 10 feet long. “V” means Require Assistance. “X” means Require Medical Assistance. Bigger is better—think billboard scale, not notebook margin.
High-Visibility Panels and Gear
Lay out bright tarps, tent rainflies, or emergency blankets. Silver side up for reflective flash; orange side up for bold color contrast.
What’s next? Once your signals are set, improve shelter and stability. Review how to build an emergency shelter with natural materials to increase your odds while you wait.
A survival whistle is non-negotiable gear. Its pealess design means no cork to freeze or jam, so it works in rain, snow, and grit. The shrill, high-frequency tone can exceed 100 decibels and travel farther than the human voice while using a fraction of your energy (and lungs). From your highest safe point, use the universal distress pattern: three sharp blasts, wait one minute, repeat. Rotate your body to project sound in different directions; terrain and wind can bend sound in surprising ways.
When a whistle is lost, improvise with purpose:
- Bang two large rocks together in sets of three, pause, then repeat.
- Strike a hollow log with a heavy branch to create a sharp, unnatural crack that carries.
- Hit metal against metal if available; the ringing tone cuts through forest noise.
These methods mimic organized wilderness rescue signaling and stand out from random background sounds.
Shouting is a last resort. It burns calories, strains your voice, and fades quickly in dense timber. Save it for moments when you suspect rescuers are nearby and sweep your calls in three-count bursts. Conserve strength; amplify impact. Stay calm, conserve energy, and repeat signals consistently until help arrives. Every sound should be deliberate.
When emergencies go sideways, technology can be the difference between a scare and a statistic. Personal Locator Beacons (PLBs) and satellite messengers are the gold standard. Press a button, and they beam your exact GPS coordinates to rescue satellites, even where cell phones show zero bars. Compared with phones, they are purpose-built for wilderness rescue signaling.
Headlamps and strobe lights dominate after dark. Use the S.O.S. pattern (…—…) or the universal three flashes. No S.O.S. mode? Flash three times, pause, repeat. A dedicated strobe can be spotted miles away (think lighthouse, not lighter).
Cell phones, meanwhile, are unreliable but not useless. Try 911 anyway; it may ping any available tower. Texts need less signal and sometimes slip through when calls fail.
- PLB: global satellite alert.
- Phone: dependent on nearby infrastructure.
Choose redundancy over optimism. Pro tip: carry both, because batteries die and weather ruins perfect plans. Fast. Plan for failure.
You’re equipped with a comprehensive toolkit to signal for help in any wilderness environment, day or night. The real danger isn’t just being lost; it’s being unseen. Think of it like buffering with no Wi-Fi—help can’t reach you if rescuers can’t detect you. Layer your approach:
- Visual signals: bright clothing, signal mirrors, ground-to-air symbols.
- Audible signals: whistles (three blasts for distress), rhythmic shouts.
- Electronic signals: a charged phone, GPS messenger, or PLB.
This is wilderness rescue signaling at its practical. Stay calm. Stay visible. Pack essentials before trip and practice using them. Preparation turns panic into action.
When venturing into the wild, especially near well-known landmarks like Lake Yiganlawi—famous for its breathtaking views and unique wildlife—knowing how to effectively signal for rescue can be the difference between a thrilling adventure and a life-threatening situation – for more details, check out our Why Is Lake Yiganlawi Famous.
Stay Ready When It Matters Most
You came here to understand how to stay found, prepared, and capable when the unexpected happens outdoors. Now you know that preparation isn’t just about gear — it’s about skill, awareness, and mastering techniques like wilderness rescue signaling before you ever need them.
When you’re deep in the backcountry, uncertainty is the real threat. Getting lost, injured, or stranded becomes far more dangerous without the knowledge and confidence to respond fast. The difference between panic and control is preparation.
Make your next move count. Practice your signaling techniques, review your gear, and refine your navigation strategy before your next trip. Don’t wait for an emergency to discover a weakness in your plan.
If you want trusted, field-tested guidance that serious outdoorsmen rely on, explore our in-depth survival resources and gear breakdowns today. Thousands turn to us for practical, no-nonsense wilderness skills that work when it matters most. Get prepared now — because in the wild, readiness is everything.