Ever stared at a trail map with no clue how steep that “easy” trail actually is? Regular maps might tell you where to go, but they don’t show you the terrain. Imagine setting off on what you think is a gentle hike, only to find yourself scaling a mini-mountain.
That’s where topographic maps come in. They’re not just for seasoned mountaineers. I’ve spent years on off-trail expeditions where knowing the land’s shape was key.
You need to know this stuff.
This guide promises to turn topographic maps beginners into savvy explorers. No jargon, no confusion. Just straightforward advice to make your adventures safer and more enjoyable.
Trust me, I’ve been there. Lost and confused. But with this knowledge, you’ll become the trail boss, not the lost wanderer.
Ready to learn?
Topo Maps: Your New Best Friend
Ever felt lost before even hiking? topographic maps save the day. Picture this: a 2D map loaded with lines that reveal the 3D world of hills and valleys. It’s your secret weapon, letting you see the space before taking a single step.
Why is this key for a beginner? Simple. You anticipate what’s ahead.
You know if that trail is a lung-busting climb or a leisurely stroll. Topo maps show the steepness and elevation changes, unlike those flat, basic park maps that tell you zilch about terrain.
Years ago, I embarked on a hike without a topo map. Big mistake. What looked like a short loop turned into a grueling climb.
If only I’d had that map, I’d have planned better. It taught me the hard way.
Here’s a pro tip: pair topo maps with Using Landmarks Trail Orientation for spot-on navigation.
Topo maps are the unsung heroes of hiking. For topographic maps beginners, they open up a new level of outdoor adventure. It’s like having a conversation with the space before you start.
You get to ask, “What’s next?” and finally get an answer.
Beginner’s Toolkit: Mastering the Map Basics
When you’re first diving into topographic maps, it feels like trying to read an alien language. Trust me, we’ve all been there. The key is not to get overwhelmed.
Just like learning to ride a bike, you need to focus on a few essentials before tackling the big stuff. So, let’s zero in on the three core features you actually need. No fluff.
Just the basics.
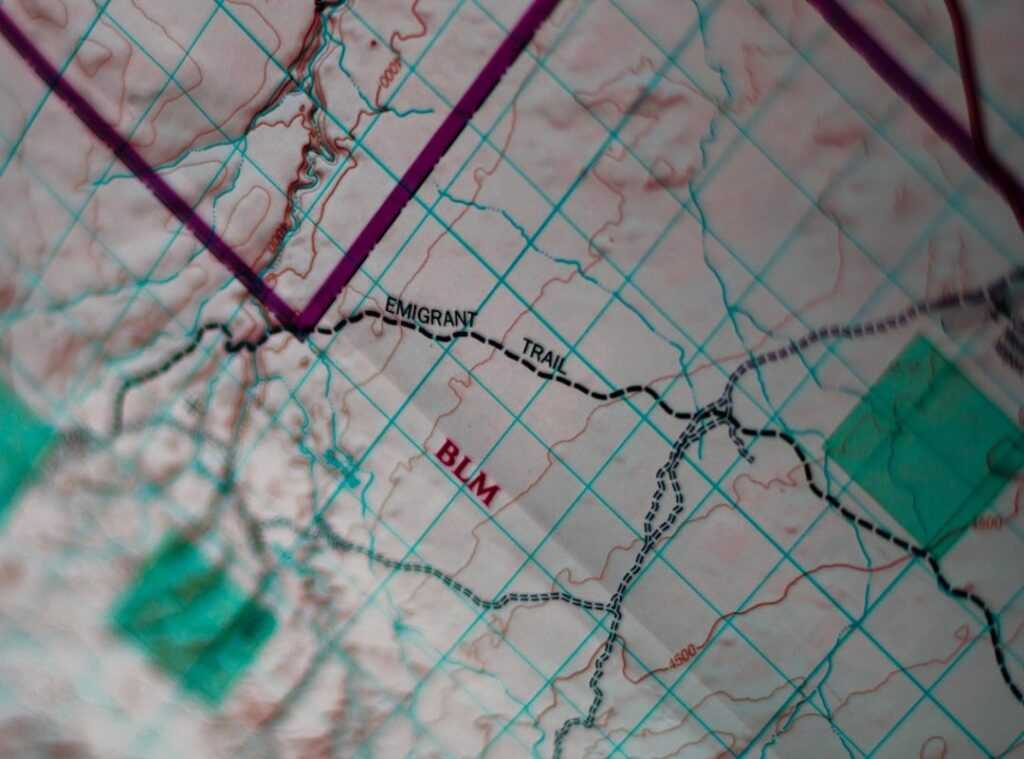
First up, contour lines. These are the magic lines that connect points of equal elevation. Imagine slicing a mountain into layers like a giant cake.
Each line represents a different slice. Two golden rules here: lines close together mean steep terrain (think cliffs or steep hills), while lines far apart mean flat or gentle terrain. Simple, right?
Once you get this, understanding terrain becomes a breeze.
Next, the map scale. This is your map’s zoom level. Have you noticed how sometimes you need to zoom in on Google Maps to find your friend’s new house?
It’s the same deal here. A large-scale map (like 1:24,000) is like zooming in close. It’s perfect for detailed navigation in a specific area, like a park.
On the other hand, a small-scale map (like 1:100,000) gives you the big picture, ideal for planning a multi-day hike or road trip. It’s all about the right tool for the job.
And then there’s the legend, which I call the map’s dictionary. You don’t need to memorize every symbol. That’s madness.
Just focus on the five most important ones for beginners: trails (dashes), water (blue lines or shapes), peaks (triangles with elevation), roads (solid or double lines), and structures (small squares). These will cover most of what you need when starting out.
For more clarity, I’d recommend checking out topo maps for dummies. It’s a great resource for anyone looking to tackle topographic maps beginners style. You might find it useful as you get more adventurous.
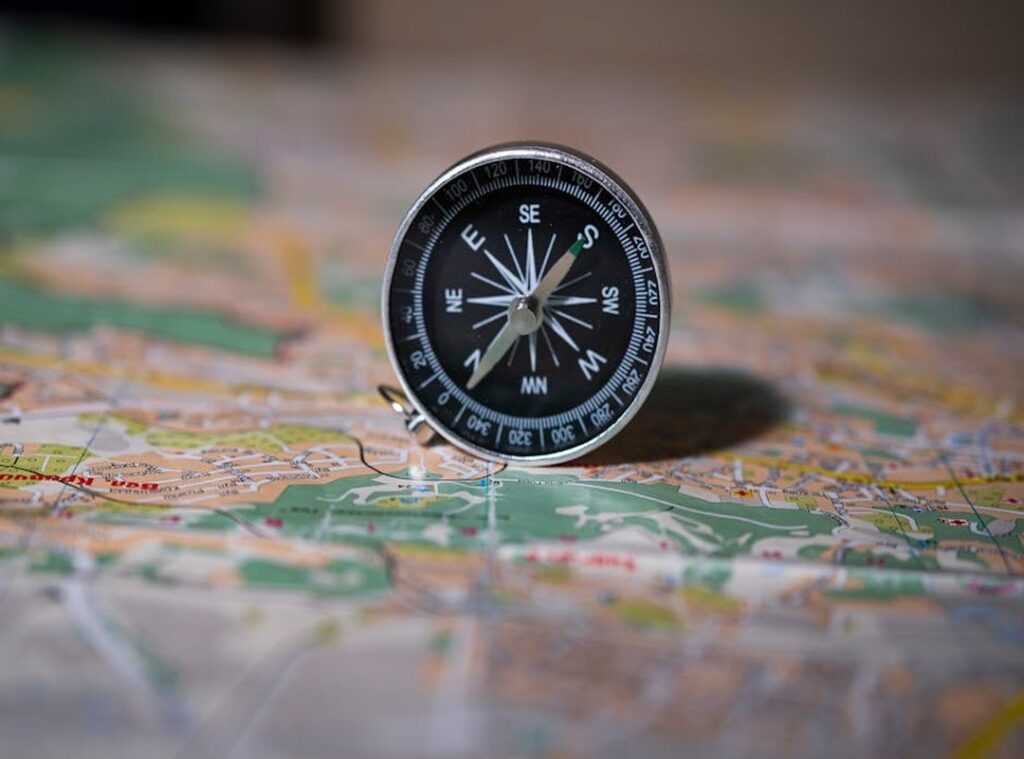
Pro tip: Always have your map and compass ready. GPS is great until it isn’t (dead battery, anyone?). With these core features down, you’ll get through like a pro in no time.
Happy exploring!
Map Mastery: Get through Like a Pro
Alright, here’s the deal. Reading a map might seem old-fashioned, but it’s a key skill. Whether you’re diving into the wild or just curious about topographic maps, beginners can ace this with a real-world guide.
Let’s jump in.
Step 1: Orient the Map. Trust me, the first thing is getting that map to match the world around you. Grab a compass. Align north on the map with north on your compass. If you’re compass-less, just spot a landmark. Mountains, towers (anything) big works.
Step 2: Find Yourself. Sounds philosophical, right? But no, literally find where you’re standing. Are you by a trail junction or maybe a river? Get a clear fix on your location because, without it, you’re guessing. And guessing is risky out there.
Step 3: Read the Terrain. Look at those contour lines. Close together? You’re going up, my friend. Far apart means easy street. It’s like reading the space’s mood. Pay attention (it) might change quickly.
Step 4: Spot Your Destination. What’s the goal here? A lake, a peak? Pin it on the map. If you can’t spot it, you’re walking blind.
Step 5: Visualize the Journey. Run your finger from your location to the target. Count those contour lines. Can you feel the effort coming up? This is about prepping mentally for what’s ahead.
As you get through this journey, sometimes traditional methods like a map can outshine tech. Curious about how old-school tactics stack up? Check out the gps navigation traditional methods pros cons.
It’s worth exploring how sometimes, old ways still win.
Paper or Digital Maps: What’s Your Pick?
So you’re diving into the world of topographic maps for beginners. What should you start with? Let me give you the lowdown.
First up, Paper’s Power. There’s something solid about holding a map, right? A physical, waterproof map won’t die on you mid-hike.
It’s like having a trusty sidekick. National Geographic Trails Illustrated maps? They’re as tough as they come.
You can toss them in your bag and know they’ll last, rain or shine. Plus, they give you that big-picture view. You can find them at places like REI and your local gear shop.
Now, let’s talk digital. Apps like Gaia GPS and CalTopo are game-changers. They show your real-time location, which is a massive confidence boost for newbies.
But here’s the catch: they’re battery-reliant. Your phone dies, and you’re stuck. It’s the Achilles’ heel of the digital age.
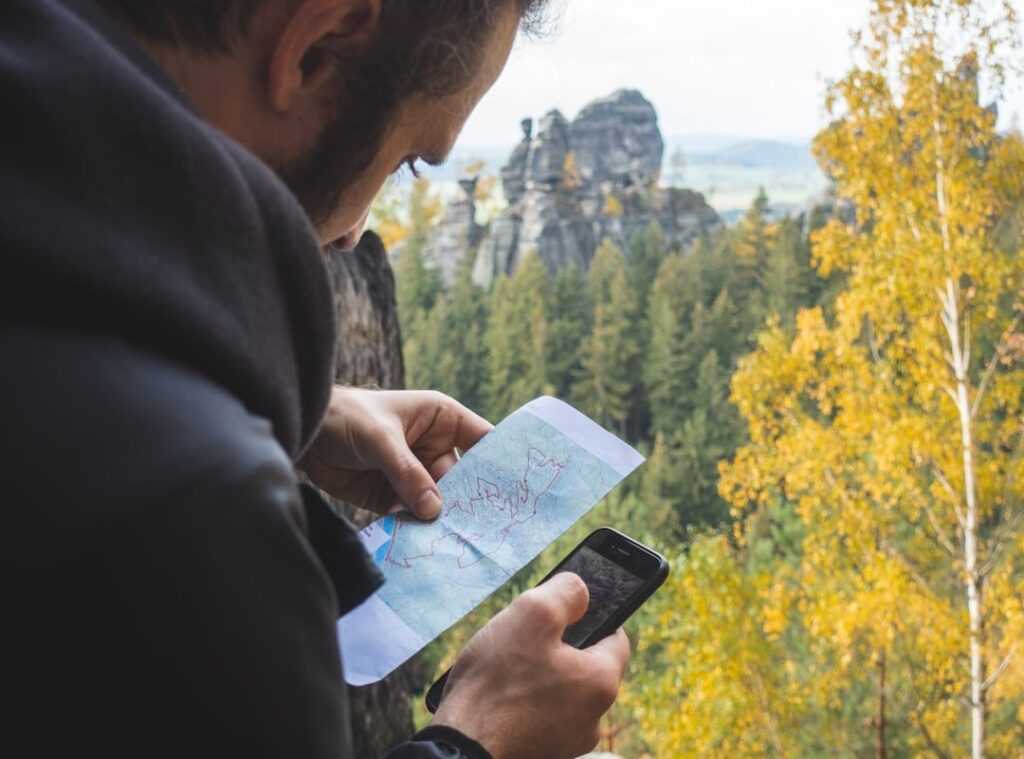
Which brings me to my pro tip: use both. Seriously. A digital map for convenience but always—always (carry) a paper map and a compass.
It’s your foolproof safety net.
Getting started with digital? Download offline maps for your specific park before you head out. It’s easy and saves your bacon when there’s no signal.
So, there you go. Pick your tools wisely and get ready to explore.
Adventure Awaits with Every Step
Topographic maps aren’t cryptic. They’re your ticket to safer, thrilling adventures. Remember when you stood at a trailhead, unsure of the path ahead?
That’s over. Learn a few features and watch your confidence soar. Transform from a mere trail-follower to a master navigator. Topographic maps beginners, this is your moment.
Grab a map of your local park. Trace those trails. Visualize the climbs and descents.
Your next great adventure is out there (waiting) for you to discover it. So, why wait? Dive in.
Your journey into the wild starts now. Get ready. The wilderness is calling.
 Ask Joseph Jasperincons how they got into curious explorations and you'll probably get a longer answer than you expected. The short version: Joseph started doing it, got genuinely hooked, and at some point realized they had accumulated enough hard-won knowledge that it would be a waste not to share it. So they started writing.
What makes Joseph worth reading is that they skips the obvious stuff. Nobody needs another surface-level take on Curious Explorations, Frontier Findings, Hid Terrain Expedition Techniques. What readers actually want is the nuance — the part that only becomes clear after you've made a few mistakes and figured out why. That's the territory Joseph operates in. The writing is direct, occasionally blunt, and always built around what's actually true rather than what sounds good in an article. They has little patience for filler, which means they's pieces tend to be denser with real information than the average post on the same subject.
Joseph doesn't write to impress anyone. They writes because they has things to say that they genuinely thinks people should hear. That motivation — basic as it sounds — produces something noticeably different from content written for clicks or word count. Readers pick up on it. The comments on Joseph's work tend to reflect that.
Ask Joseph Jasperincons how they got into curious explorations and you'll probably get a longer answer than you expected. The short version: Joseph started doing it, got genuinely hooked, and at some point realized they had accumulated enough hard-won knowledge that it would be a waste not to share it. So they started writing.
What makes Joseph worth reading is that they skips the obvious stuff. Nobody needs another surface-level take on Curious Explorations, Frontier Findings, Hid Terrain Expedition Techniques. What readers actually want is the nuance — the part that only becomes clear after you've made a few mistakes and figured out why. That's the territory Joseph operates in. The writing is direct, occasionally blunt, and always built around what's actually true rather than what sounds good in an article. They has little patience for filler, which means they's pieces tend to be denser with real information than the average post on the same subject.
Joseph doesn't write to impress anyone. They writes because they has things to say that they genuinely thinks people should hear. That motivation — basic as it sounds — produces something noticeably different from content written for clicks or word count. Readers pick up on it. The comments on Joseph's work tend to reflect that.